A new bag of coffee is a small reset. The beans you learned last month are gone, and the ones sitting in your hopper now want a different grind, maybe a touch more dose, and a few days to settle. A shot that tasted sweet on Friday can pull sharp and thin on Monday on exactly the same settings — not because you did anything wrong, but because the coffee changed.
That is why dialing in works better as a checklist than as a hunt. Run the same handful of checks every time you open a bag and you will spend three shots finding the sweet spot instead of twelve. You will also know why the good shot was good, which is the part that makes the next bag easier.
Before You Change Anything
Half of all "the beans are bad" mornings are actually temperature problems. A machine that has been on for four minutes is not ready. Give it fifteen to twenty minutes with the portafilter locked in, so the group head and basket are properly hot. A cold basket pulls the first shot of the day short and sour, and then the second shot tastes fine and you blame yourself.
Then clean up. Flush the group, wipe the basket dry, and brush out the grinder chute. If you keep beans in the hopper, purge four or five grams — those stale grounds from yesterday will flavour the first shot of the new bag and confuse your read completely.
Two tools matter more than any gadget: a scale that reads to 0.1 g and a timer. Weigh what goes in, weigh what comes out. Volume in a shot glass tells you almost nothing.
Step 1 — Set a Reference Recipe
Before you taste anything, decide what a normal shot looks like for you. A sensible starting point for a modern double basket is 18 g in, 36 g out, in roughly 25 to 30 seconds from the moment you start the pump. That 1:2 ratio is a baseline, not a law.
Adjust it to your basket, though. If it is rated for 17–18 g, do not stuff 20 g into it. An overfilled basket gives the water nowhere to go, the puck cracks, and you get a shot that tastes both sour and bitter — the most frustrating result on the dial. Stick to the dose your basket was designed for and work from there.
Write the recipe down somewhere you will see it. Then change one thing at a time. If you alter the dose and the grind and the yield, the shot will taste different and you will have no idea which change did it.
Step 2 — Lock the Dose, Move the Grind
Once the dose is set, treat it as fixed. Grind is the dial you turn, because it is the most powerful and the most reversible. Finer grind means more resistance and more extraction; coarser means less of both. After every adjustment, purge two or three grams through the grinder so you are not brewing a mix of the old and new setting.
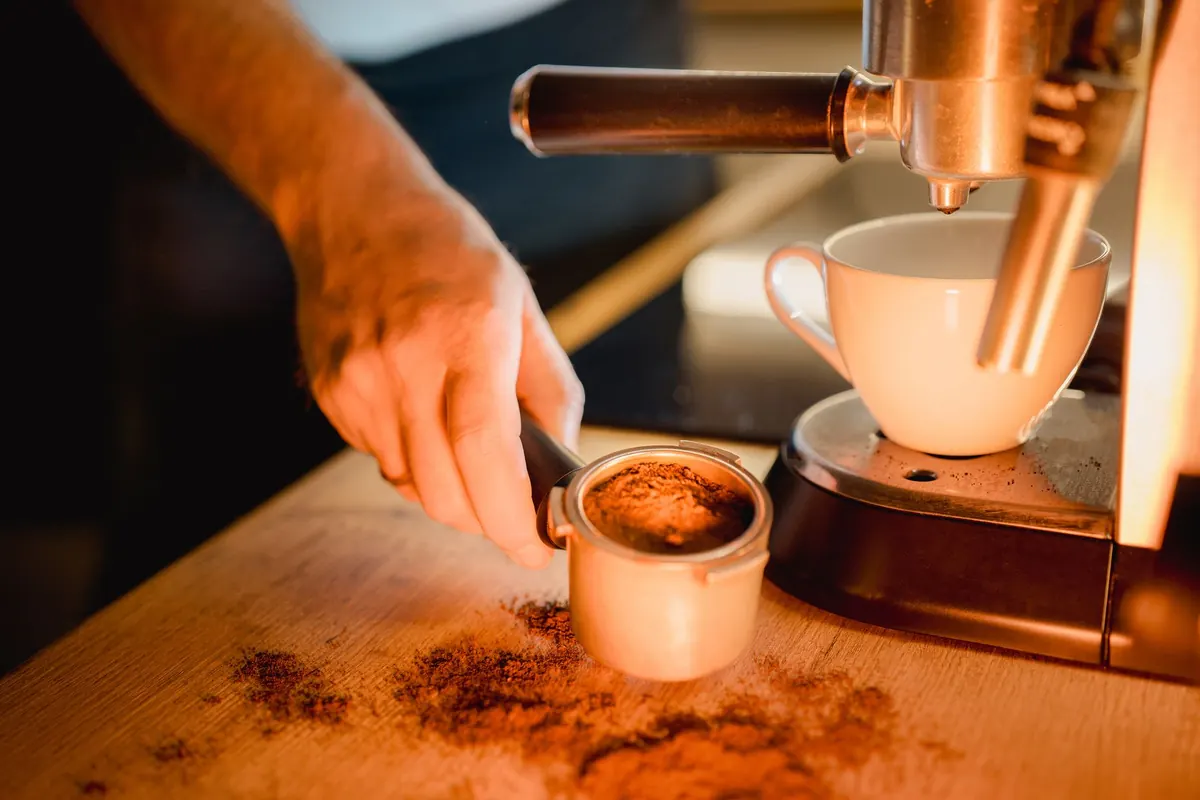
Do not skip puck prep. Level the bed, tamp straight and firmly, and if you use a distribution tool, use it consistently. Channeling — where water punches through one weak spot instead of the whole puck — produces a shot that runs fast and tastes hollow, and no grind setting can fix it. Fix the puck instead.
Step 3 — Read the Shot Before You Judge It
Taste first, numbers second. Take a small sip, let it cool for a moment, and ask two questions: does it feel sharp or drying, and does the flavour fade quickly or hang around?
Sour, thin and salty: under-extracted
Think lemon peel, green apple, a hollow middle and a finish that vanishes. The water moved through the coffee too quickly to pick up the sweetness.
Bitter, dry and ashy: over-extracted
Think burnt toast, cocoa powder, cardboard, and a drying feeling on the roof of your mouth that lingers. Too much was pulled out of the grounds.
Both at once: usually a puck problem
If the shot is sour and bitter, suspect channeling, an overfilled basket, or a very uneven grind before you touch the dial again. This is also what stale or over-roasted beans can taste like.
- Sour or sharp — grind finer, in small steps.
- Bitter or drying — grind coarser, in small steps.
- Fast shot and thin body — finer grind, same dose.
- Slow shot that drips and stalls — coarser grind, and check your dose.
- Good flavour but too intense — lengthen the yield slightly rather than changing the grind.
Step 4 — When Grind Alone Is Not Enough
Some coffees never quite land at 1:2. Very light roasts often taste better a little longer — try 1:2.2 or 1:2.5 — because more water gives those bright, tea-like flavours room to round out. Darker roasts usually prefer a shorter, gentler shot, sometimes 1:1.8, with the temperature nudged down a degree or two.
Change one of these per shot, and only after the grind is in the right neighbourhood: yield by a couple of grams, temperature by one or two degrees, and pre-infusion time if your machine offers it. Small moves, tasted carefully, beat big swings every time.
Step 5 — Log It, and Let the Beans Breathe
A notebook or a note on your phone takes ten seconds and pays for itself within a week. Record the basics so tomorrow's you is not guessing:
- Bean name, roast date and days since roast
- Dose, yield and shot time
- Grinder setting and any change you made
- One or two words on taste — "syrupy, cherry" or "drying finish"
Expect the coffee to move under you. Beans release gas for days after roasting, and espresso made with very fresh coffee often runs fast and foams oddly. Many coffees hit their stride somewhere between a week and two weeks off roast, and the setting that worked on day three may need a small nudge on day ten. That is normal, not failure.
The First Ten Minutes With a New Bag
Pull one shot on your last known setting and taste it without judgement. If it is in the right area, adjust by the smallest increment your grinder allows. If it is far off, make one bigger move, then fine-tune. Two or three shots should get you close; a fourth should confirm it.
Drink the failures. A sour shot with a splash of milk still tells you something, and a bitter one over ice with a little sugar is a better teacher than a sink pour. Then write down the setting that worked, tape the bag shut, and enjoy the fact that tomorrow morning you already know what to do.
Photo: Jakub Zerdzicki / Pexels